Repacking a cylinder isn't difficult if you have the tools and knowhow to pull the task off. Here is a look at what you need to do.
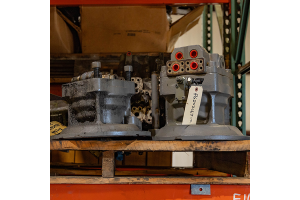
The first things you need to do is buy the right rebuild kit. There are many types of cylinders as you know, and each one usually requires a different kit. Be sure you have at least the correct cylinder part number before you order your kit. Your parts manual should have the kit part number but if you don't have that, your cylinder part number will be very important to have. Calling a company to order a kit and giving them dimensions of your cylinder is not the way to go, trust us on that.
If you don't have a part number, you'll definitely need the make, model, and serial number of your machine. Be prepared with at least that information when you call a parts supply company.
As long as there is no damage to the cylinder aside from it leaking hydraulic fluid, a seal kit is probably all you will need.
Before starting the job, make sure you use all safety precautions before getting the cylinder off your machine. Be sure to secure buckets or booms before working to get the cylinder off.
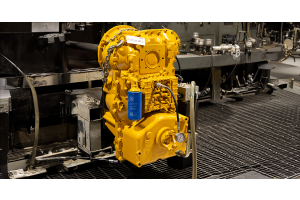
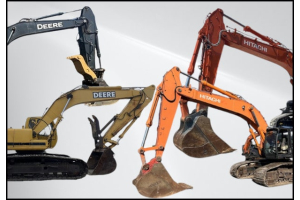
Although cylinders vary in size, function, and mounting, the rebuild process is usually the same so the steps to repacking a cylinder that follow should be sufficient.
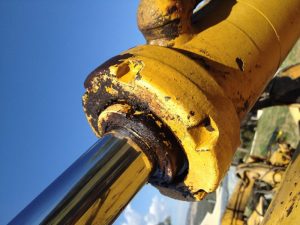
First you'll need to get the gland off. You'll need a wrench for that process. You'll also need something to hold the cylinder in place while you get the gland off. You can and should get gland removal tools if you don't have them already.
Cylinder Disassembly
Before you start any cylinder repacking job, be sure the area you are working in is very clean.
- Be sure all pressure is released from the cylinder. Remove the hydraulic lines to do this.
- Take off the gland. You may need to use a hammer to tap the handle of the wrench to break the gland free.
- Pull the piston rod from the cylinder. If you are dealing with a large cylinder like one you would find on a 30,000 lbs excavator, you know you'll need extra support and heavy machinery to do the job. A winch is sometimes used for large cylinders but is not required in most cases.
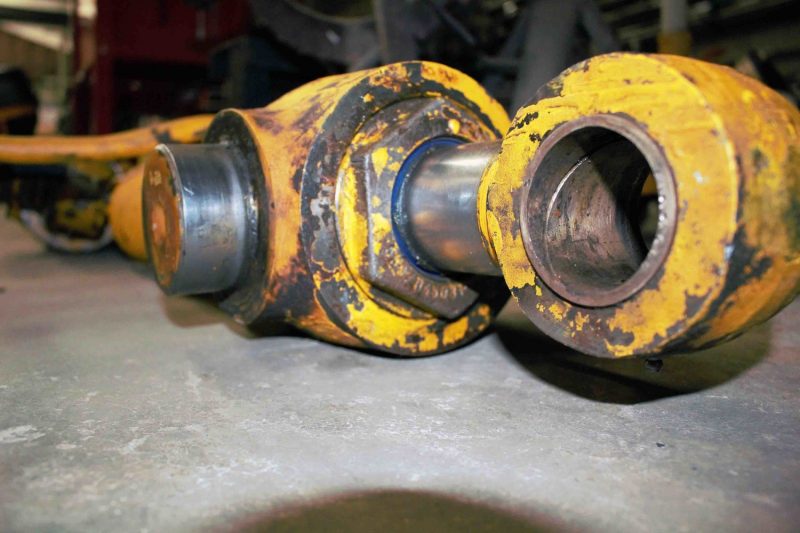
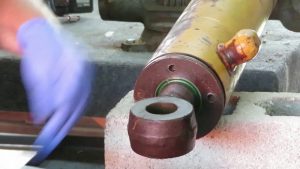
- Don't allow the piston rod to get dirty or hit any other metal. You must protect this part from damage.
The seal kit you bought should have a diagram of how to put the seals together inside your cylinder. It's recommended you take notes or even photos of every step of the process. This way it's less likely you'll install one of the seals the wrong way.
Before installing any seal or snap ring, clean the groove thoroughly. You should use non-abrasive chemicals like brake cleaner.
A good way to keep from getting seals mixed up is to replace one component at a time. The seals fit very tight so you'll need some hydraulic fluid to help fit the seal into the groove. Elbow grease and patience is also highly recommended.
Reverse the process when reassembling the piston to the rod using a thread locking adhesive when replacing the piston rod bolt. Use oil on all the parts.
Do not use a thread locking substance on the gland threads when screwing the gland back into the cylinder. Replace the hydraulic lines and test for leaks.