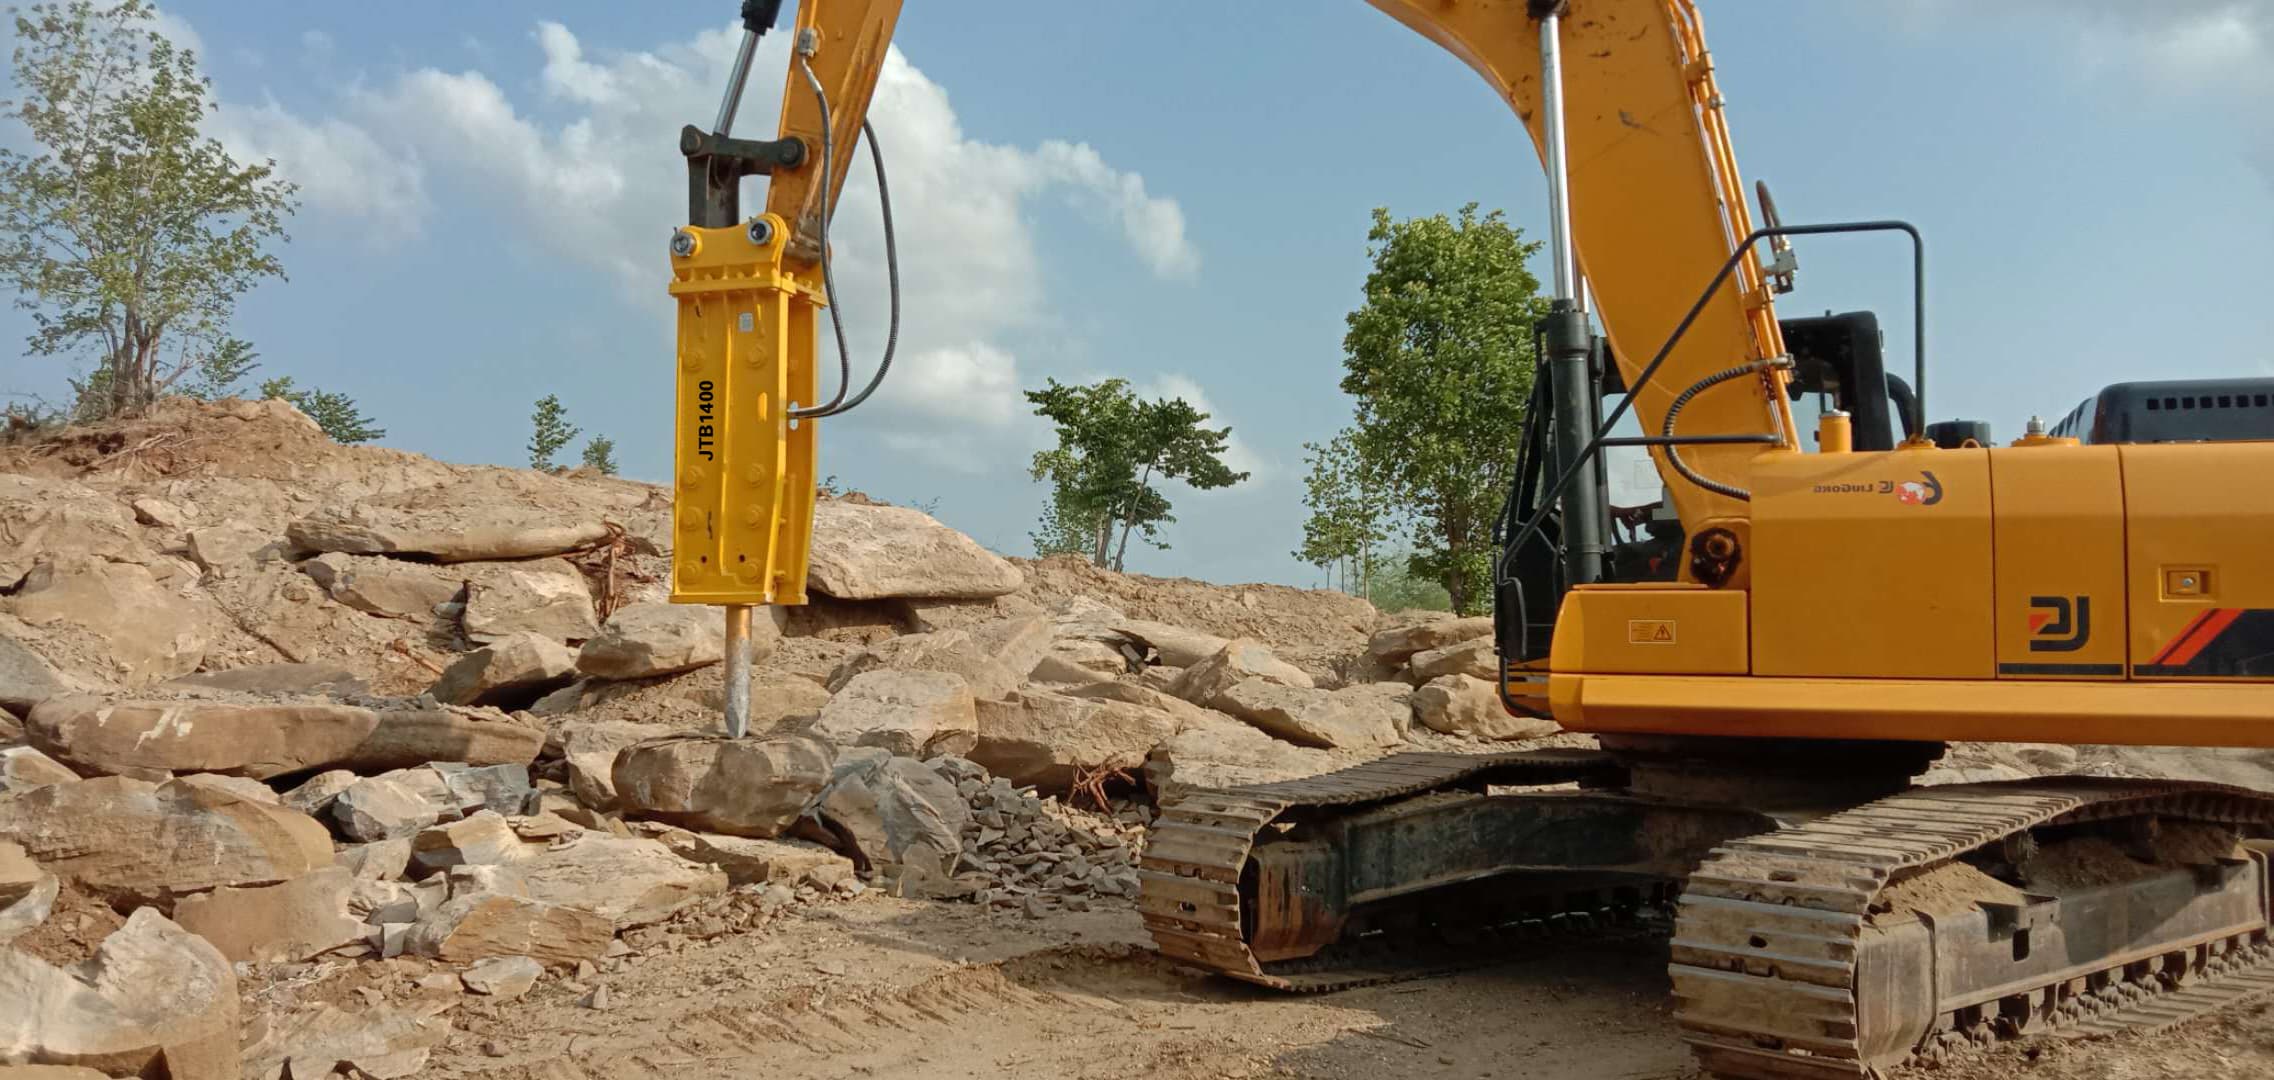
Hydraulic hammers may be the most difficult attachments to use effectively. The amount of force and punishment the tool and the machine endures demands extra attention to detail.
1. Position and Reposition the Breaker
Aiming for the middle of concrete or a boulder usually requires the breaker double-whammy. This method is less productive and harder on the machine.
Operators need to instead look for cracks they can take advantage of, particularly near the edges of objects they’re trying to break. Position the tool at a 90-degree angle, lean some of the carrier’s weight on the tool point and hit it with short bursts. If the material breaks, move the tool inward. If the target doesn’t break, reposition the breaker laterally and try another spot closer to the edge. Scoring along an edge can get the job done.
If there is no break in about 20 seconds, move to another impact point. Remember, the hammer creates a lot of heat, requiring 500° F breaker greese. You can also damage the opposite end of the tool, where the piston impacts. Risk escalates of a severe failure that could damage the piston or the breaker structure. Recoil transmitted to the carrier’s boom goes to work on pins and bushings.
Monitor a change in vibration and sound when material fractures and get off the hydraulic system quickly to minimize blank firing the hammer.
2. Don’t Fire Blanks
Anytime you lift the breaker, disengage the hydraulics to minimize dry firing to help prevent undo stress on the tool's housing and bushings.
When positioning the breaker, the operator should use the boom to transfer some of the carrier’s weight onto the tool. Without enough down pressure, the breaker could bounce around and much of the piston’s force will reflect up into the carrier, risking damage to the breaker’s suspension and the boom.
Too much down pressure could result in the carrier crashing down causing damage.
3. Don't Pry
Prying can bend or break the tool, and it can misalign the tool steel in its bushing. If the piston doesn’t make solid contact with the head of the tool steel as designed, breaking productivity drops off and lateral forces of the impact can damage the piston and the cylinder which can be very expensive to repair.
Proper alignment is crucial to keep the cylinder and pistion working smoothly without improper stress and friction.
Applying lateral pressure on the tool when preloading feed force can wear piston tolerances, reduce striking power and add heat to the carrier’s hydraulic system. Bad habits, such as tying a sling to the breaker to carry loads or pushing around material with the breaker can damage the attachment.
4. Match Hammer to Carrier
Precision tolerances in the breaker’s piston make any kind of contamination a serious problem so keep everything clean when swapping attachments.
When exchanging a bucket for a breaker, make sure the hydraulic hoses are properly capped to keep dirt and dust out of the fittings. Quick-disconnect couplers are a common cause of unexpected hammer failure. Use the attachment change to inspect hydraulic hoses and couplers, and keep a clean rag handy to wipe fittings.
Make sure all the carriers are properly sized for the tool, and the hydraulic performance of each potential base machine is matched to the hammer’s needs. Mark the breaker’s coupler with the model number of the carrier machine or machines it matches.
Using a hydraulic breaker that is too small for the carrier machine can damage mounting adapters, the working tool and even the hammer components because the heavier carrier applies too much force.
Fitting a carrier with a breaker that’s too large, even if it is capable of lifting the attachment and remaining stable on the work site, subjects the machine to the breaker’s excess impact energy. Breaking power to the target decreases while wear on the carrier boom and hydraulic system increases.
Hammers are designed to run within a defined range of hydraulic flow and pressure. The carrier’s flow rate and pressure relief setting are the two main concerns. Flow rate determines the speed at which the hammer hits. Excess flow will cause a breaker to bounce. Fast and furious impacts are very hard on the breaker’s components and structures, and wear on pins, bushings and control arms, and could crack the stick or boom.
If the carrier’s relief setting is too low, the breaker won't get enough operating pressure before oil flows over the relief valve, creating excess hydraulic heat. Ineffective breaking power will also cause damaging heat to build up in the working steel.
5. Greasing is Part of Operating
Hydraulic breakers need lots of high-quality grease, typically every two hours but that can vary depending on operating conditions. Standard grease will not do. Manufacturers recommend high-moly grease with a working temperature above 500° F. Molybdenum tends to bond to the bushing and tool steel for persistent lubrication after the oil additives break down and allow the grease to flush debris down the tool.
Some manufacturers recommend using a more-viscous chisel paste for staying power in the heat and vibration of the bushing. Some contain particles of copper and graphite that roll up like ball bearings between the steel and bushing to prevent metal-on-metal contact.
The right amount of grease is just as important as the right type. The two-hour intervals is just a rule of thumb, and it’s not enough for the biggest breakers. There should be enough grease to keep the tool-bushing area filled and to minimize friction.
The carrier should be holding the breaker vertically with enough down pressure on the tool bit to push it up against the strike piston. This forces grease around the tool and into the gaps between it and the bushing. It keeps lube out of the percussion chamber, where the piston strikes the top of the tool. Grease in the percussion chamber on impact can be forced up into the breaker where it can damage the hammer’s seals.
Too little grease allows the bushings to overheat and seize. Shiny marks on the tool are a good indication the breaker isn’t properly lubricated. The actual amount of grease needed for proper lubrication varies according to hammer size, wear rate of the tool shank and bushing, condition of the tool seal, operator’s work techniques and grease quality. It’s best to ask your equipment supplier about the best way to lubricate breakers in your working conditions.
Many makers recommend pumping grease into the breaker bushing until you see grease exiting the bottom of the bushing. It ensures the void between the bushings and the tool steel is filled and displaces old grease new. Grease more often in dry, dusty environments, if the tool looks dry, drags in the bushing or shiny wear spots are rubbed on its shank.
Breaker in the 3,000 ft. lb. and larger classes need auto-lube systems. Properly maintained auto-lube systems will constantly provide shots of grease into breakers. The operator should still make sure the hammer is getting enough greese by checking manually every couple hours.
Break the rock, not your machine. If you need a breaker, or parts for your machine, give ConEquip Parts a call.