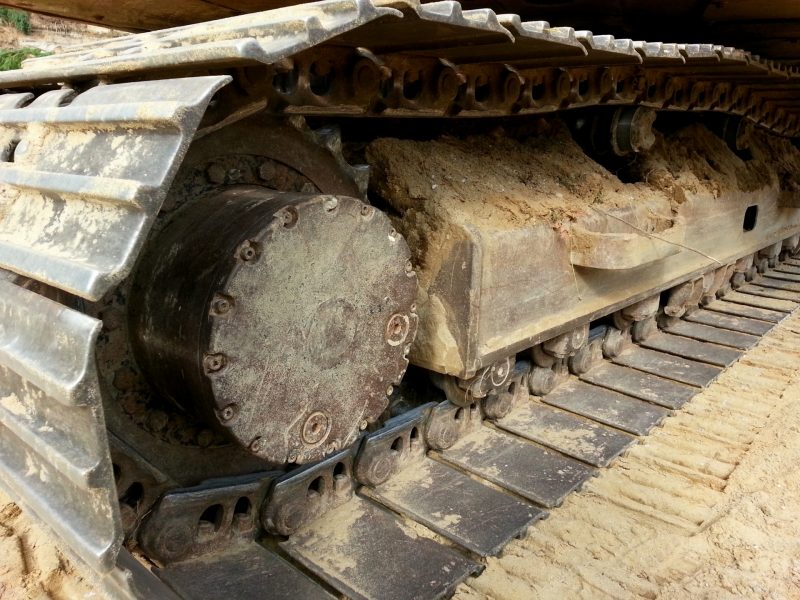
Installing a final drive isn't a difficult job. In comparisons to other tasks, it's pretty straight forward. There are however important tips to keep in mind to make sure you don't end up turning a simple job into a disaster.
Tag Hoses
This step will save time and frustration. Tag all the hoses before you disconnect them so you'll know how they go back after the final drive is installed. A good way is to color code them.
Clean the Area
When you get your hold final drive off your machine, clean up the area. Remove any debris so there is little to no chance you will contaminate the system when you install the new drive.
Clean Connections
Before you reattach the hoses to your replacement final drive, make sure the connections on those hoses are clean. Don’t ruin your brand new final drive because of dirty connections.
Add Hydraulic Fluid
Add clean fluid to your replacement final drive before you install it to make sure it is properly lubricated before it starts. It is hard to believe but this step is often overlooked.
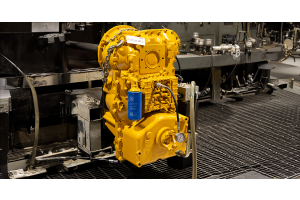
Add Gear Oil
If you have a planetary final drive motor, then you should make sure it has sufficient gear oil in the planetary hub. If you aren't sure how to add gear oil to your final drive, check out one of our very first videos ever posted on our YouTube Page.
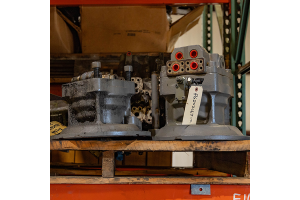
Replace the Case Drain Filter
If your machine has a case drain, then you need to install a brand new one with the drive. Clogged case drain filters are a major cause of catastrophic final drive failure. We highly recommend installing a new case drain filter when you install the new final drive.
Test Your Drive
Before you put your sprocket on, test the drive in low speed to make sure it operates in the correct direction. If it is running in wrong direction, then you have the input and output lines reversed, which is an easy fix.
Double Check Oil Levels
After checking the direction, it's good to check oil levels. Position the drive so the drain port is at the 3 or 9 o'clock position. Pull the plug. If oil slowly dribbles out, your drive is good with oil. If not, fill the final drive until you start getting oil oozing out.
Conclusion
Installing your final drive right and taking care of your equipment is paramount to keeping your machine running right to get jobs done and to save money. If you need a final drive, ConEquip Parts has high quality new replacement final drives available for much less than what you will pay at your dealer.